 Previous Page Next Page
You can specify certain criteria for the fields of a query to be retrieved from the database via a filter, so that when you build reports on the query, the returned results will be narrowed down.
Filter condition can be composed in both the format of a QBE (Query By Example) and a filter. Using the filter format, you can define the condition on the query and any tables in the query. The overall filter condition applied to a query will include all of them, that is QBE filter AND query filter AND table filter. Always click the SQL button to view your condition and parse the query to ensure the syntax is valid.
The criteria panel in the lower part of the Query Editor is for you to filter out some unnecessary records in a query. This filter is in the format of Query by Example (QBE).
When filtering with the QBE format, you are prompted to type the search criteria into a template resembling the data record. The advantage of query-by-example retrieval is that you don't need to learn a query language to frame a query. All the data fields are shown to you, and all you need to do is to enter the information that restricts the search to the required criteria. Any fields left blank, however, will match everything.
The columns and menus allow you to specifically define criteria for the fields in JReport Designer. For example, if a field is labeled REGION, and this field is a list of all 50 states in the United States. If you only want to see information from California (CA) and New York (NY), in the criteria menu, you can pick out CA and NY by placing their names in the column as seen below.

You just need to type in NY and CA. JReport Designer automatically places the ='xx' (equal sign and quotes) in the column for you. Below is a list of the syntax available:
Note that in an Oracle database, if you want to use a Date or DateTime type parameter or a specific date or time to filter the field of a query, you need to apply the to_date() or to_timestamp() function in the filter condition, for example:

Tip: In the criteria panel, if you do not want to show the table names for the selected columns, you can uncheck Menu > Query > Show Table Names.

From the criteria panel you can also delete any column in a table. To do this, select the column in the panel and click Delete Column on the toolbar or click Menu > Column > Delete Column. To undo the deletion, find the column in the table and place a check mark beside it.
Compared with QBE, the filter format provides you with more flexibility with composing the condition. The expression includes not only the DBField selected, but also formulas and parameters. You can also manually type in strings that are supported by the database.
When you use the filter format to filter a query, you can compose the condition on both the query and any tables in the query. A filter based on a query is applied as long as the query is used or referenced, while a filter based on a specific table in a query is applied only when the table is queried at runtime.

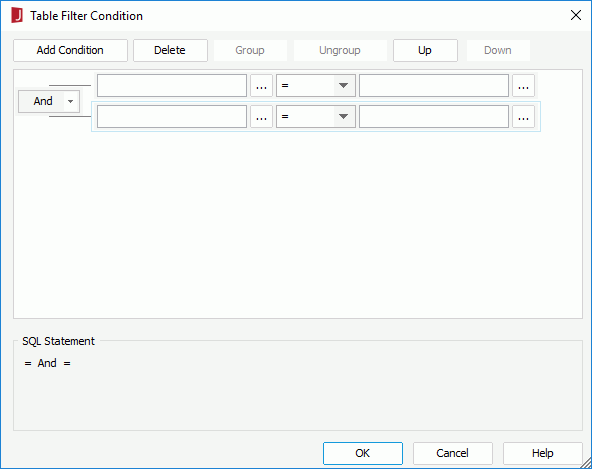
 on the title bar of the table in the Query Editor. The Table Filter Condition dialog appears.
The
resources available for use are the columns in the table, the formulas that are valid to the table, parameters, the special field User Name, and queries.

You can compose the filter condition as follows:
 to specify the field in the Expressions dialog.
 to specify the value of how to filter the field in the Expressions dialog or input the value manually. You can also use sub-queries to narrow down the result, or use the special field User Name or a parameter to filter the query dynamically.
To make some condition lines grouped, select them and click the Group button, then the selected condition lines will be added in one group and work as one line of filter expression. Conditions and groups together can be further grouped. To take any condition or group in a group out, select it and click Ungroup.
To adjust the priority of the condition lines, select it and click the Up or Down button.
To delete a condition line, select it and click the Delete button.
Inputting filter condition values manually
When you input the value manually for a condition, you need to pay attention to the following:
Example1: Customers_Country='USA'.
Example2: Customers_Country in 'Australia','Germany','Mexico'
The quote marks can be typed by yourself or be added by JReport Designer automatically. To have the quote marks automatically added by JReport Designer, follow the steps below:
Note: In an Oracle database, if you want to use a Date or DateTime type parameter or a specific date or time to filter the fields of a query, you need to use the to_date() or to_timestamp() function in the filter condition, for example:

When filtering the fields of a query with the filter format, you are also enabled to use sub-queries to narrow down the result. The following are syntaxes that can be used in sub-queries.
Quantified predicate
A quantified predicate compares a value with a set of values.
expression----+- = --+- SOME --+-- ( subselect )

                                        +- <>  -+  ANY    ---+

                                        +- ! = --+  ALL   ----+

                                        +- <   --+

                                        +- >   --+

                                        +- <=  --+

                                        +- ! >  --+

                                        +- >=  --+

                                        +- ! < --+
The subselect must specify a single result column and can return any number of values, whether they are null or not.
SELECT qty FROM sales WHERE qty>= ALL (SELECT qty FROM sales)

        SELECT BUYERID, ITEM FROM ANTIQUES WHERE PRICE != ANY (SELECT PRICE FROM ANTIQUES);
EXISTS predicate
The EXISTS predicate tests for the existence of certain rows.
- [ NOT ] EXISTS--(subselect)
The subselect may specify any number of columns and,
SELECT DISTINCT pub_name FROM publishers WHERE EXISTS (SELECT * FROM titles WHERE pub_id = publishers.pub_id AND type = 'business')IN predicate
The IN predicate compares a value with a set of values.
expression----+-- [NOT] IN --+-- ( subselect )
In the subselect form, the subselect must identify a single result column and may return any number of values, whether null or not null.
SELECT distinct pub_name FROM publishers WHERE pub_id IN (SELECT pub_id FROM titles WHERE type = 'business')The following example explains how to apply a subquery when filtering a field:
 beside the field text box. In the Expressions dialog, select the column Customers_Customer ID, then close the dialog.
 beside the value text box. In the Expressions dialog, click the Subquery tab. Select an existing query in the catalog to be the subquery. If you want to edit the selected query, click the Edit Subquery button. To create a new subquery, click the New Subquery button.
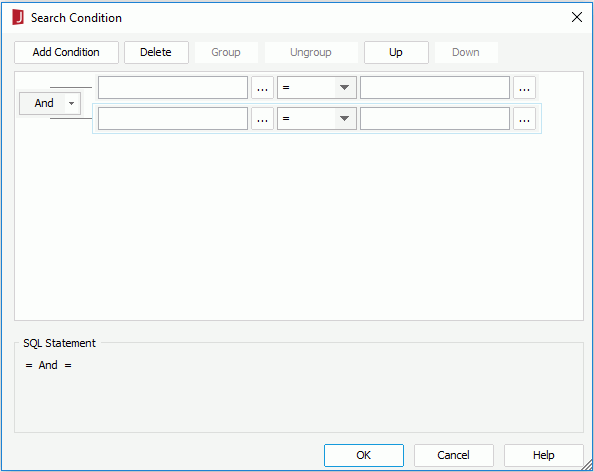
Here, we create a new query named subin, add the table Orders, select the column Orders_Customer ID, and add a condition "Ship Via=Express Delivery" in the Search Condition dialog.
Now, the subquery subin will be applied to the filter when you build a report that uses the Customers_Customer ID column.
Notes:
To remove the parameter condition from a query if this happens, check Menu > Query > Ignore Predicate If Parameter Value Is Null in the Query Editor.