 Previous Page Next Page
This wizard appears when you click Insert > Crosstab, or drag the Crosstab button from the Components panel into a report that is created using business views. It helps you to create a crosstab in the report, and consists of the following screens:
Back
Goes back to the previous screen.
Next
Goes to the next screen.
Finish
Finishes creating the crosstab and closes this dialog.
Cancel
Does not retain changes and closes this dialog.
Help
Displays the help document about this feature.
Specifies the data source that you want to use to create the crosstab.
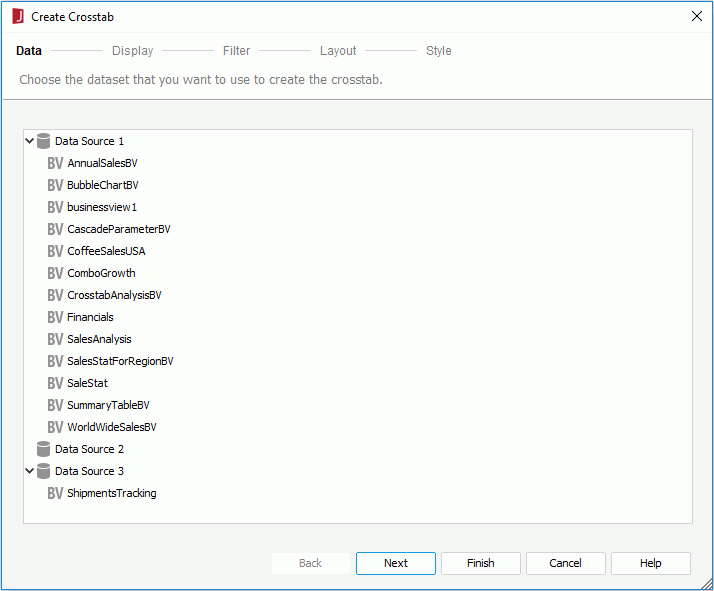
Resources
Lists all the business views in the current catalog. Specify the one you want to use.
Specifies the fields that you want to display in the crosstab.
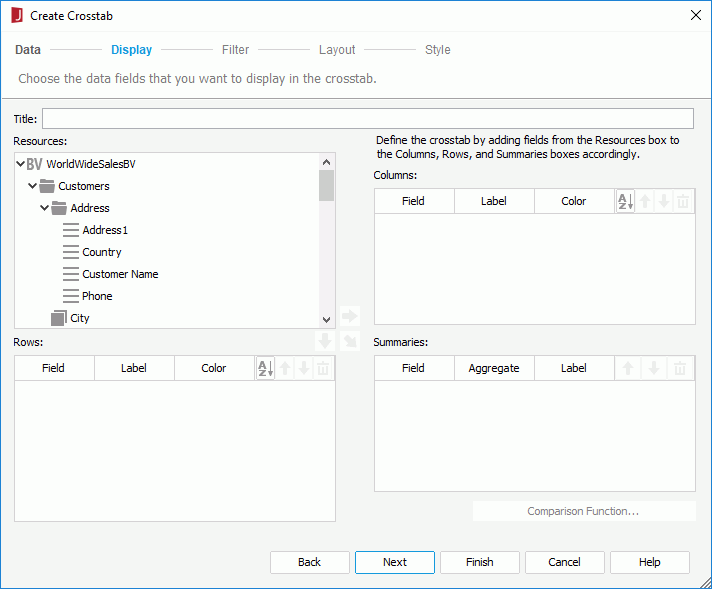
Title
Specifies the title of the crosstab.
Resources
Lists all the available data resources. You can also create dynamic formulas and aggregations to use in the crosstab.

Adds the selected field to be displayed on the columns of the crosstab.

Adds the selected field to be displayed on the rows of the crosstab.

Adds the selected field on which to create summaries.
Columns/Rows
Summaries

Specifies in which manner to sort the field values.

Moves the specified field one step up.

Moves the specified field one step down.

Removes the specified field that is not required from the crosstab.
Specifies to filter data displayed in the crosstab.
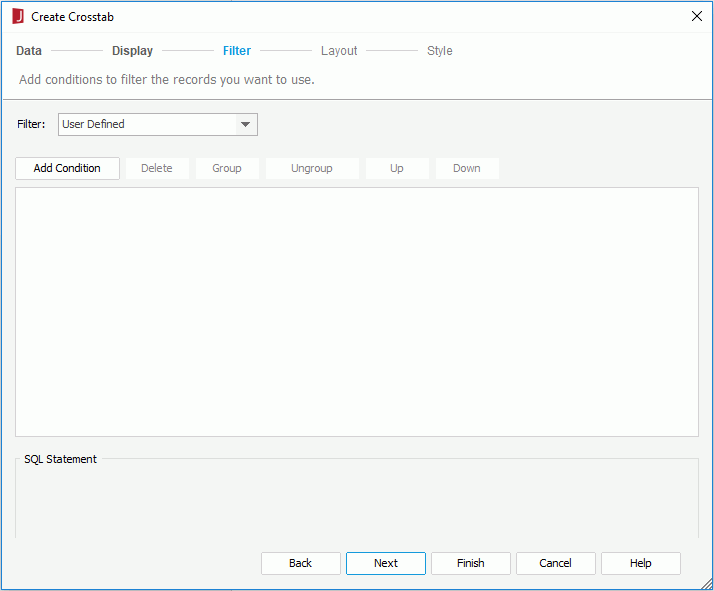
The options in the screen are the same as those in the Edit Filter dialog.
Specifies the layout of the crosstab.
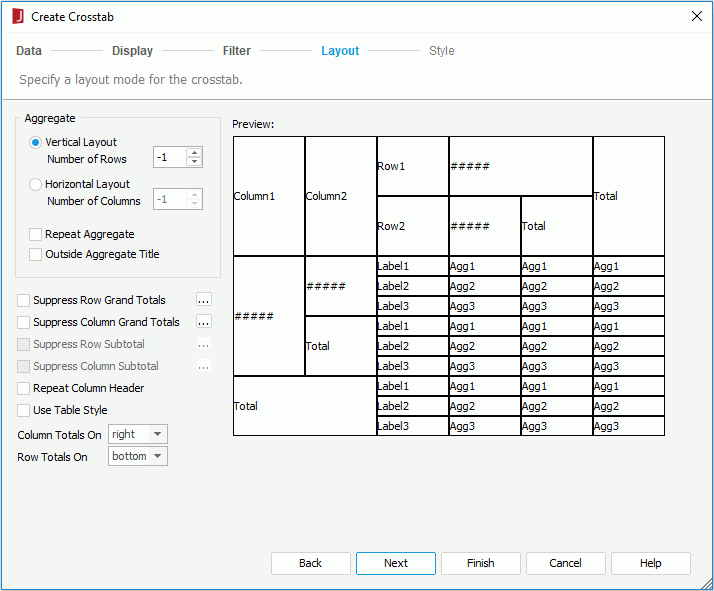
For details about options in the screen, refer to Customizing Crosstab Layout.
Specifies the style of the crosstab.
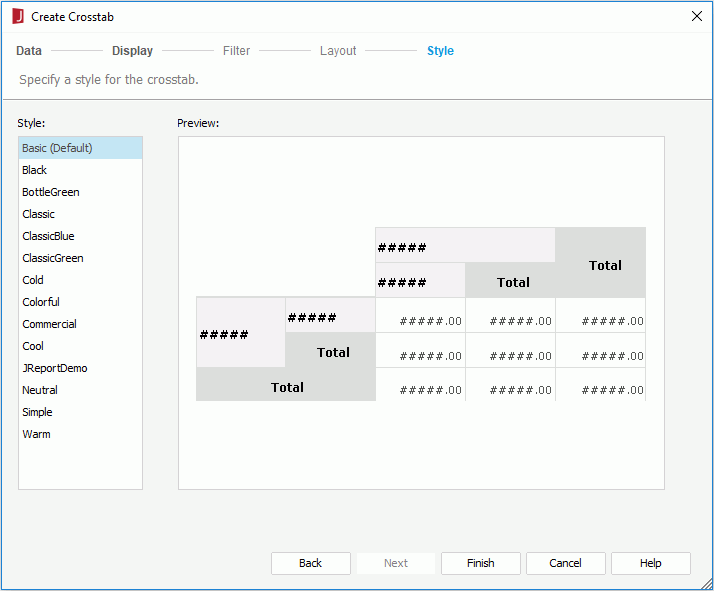
Style
Specifies the style of the crosstab.
Preview
Shows a sketch of the selected style.
Inherit Style
Specifies whether to make the crosstab take the style of its parent. This options is available only when the crosstab is inserted in a banded object in a page report.