BackPrevious Page Next PageNext

Creating a Business View

  1. Open the required catalog, then do either of the following:
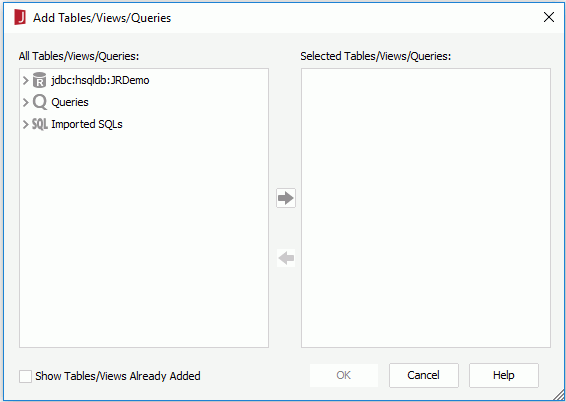
  2. In the Enter Business View Name dialog, provide a name for the business view and click OK. The Add Tables/Views/Queries dialog is then displayed.

    Add Tables/Views/Queries dialog

  3. In the left box, expand the resource nodes to add the resources based on which to create the business view to the right box, then click OK.

    If the catalog data source is connected with multiple connections, you can mash up multiple data resources for the business view that come from all these connections, including tables, views, synonyms, queries, imported SQLs, stored procedures and user defined data sources. When a query, imported SQL, stored procedure or user defined data source is added, it will be added as a single table with all of its columns. When two resources (for example, a table and a view) use the same name, they cannot be added at the same time, and when a table is already contained in a query, you cannot add the table and the query at the same time.

    If the current catalog data source contains JDBC connections, the Include Added Tables/Views option is available. Check it if you want to show the tables, views and synonyms in the resource tree in the left box, which have already been added to the right box. You can then add the tables, views and synonyms of the JDBC connections for the business view as many times as you want by providing different names for the tables, views and synonyms each time you add them.

  4. If more than one data resource is added for the business view, the Query Editor appears, in which you can edit the data resources you select for the business view in the same way you would do for a query. You can:

    When done, click the OK button at the bottom of the Query Editor to apply the changes. If needed you can also click Menu > Query > Save As to save the data resources as a query.
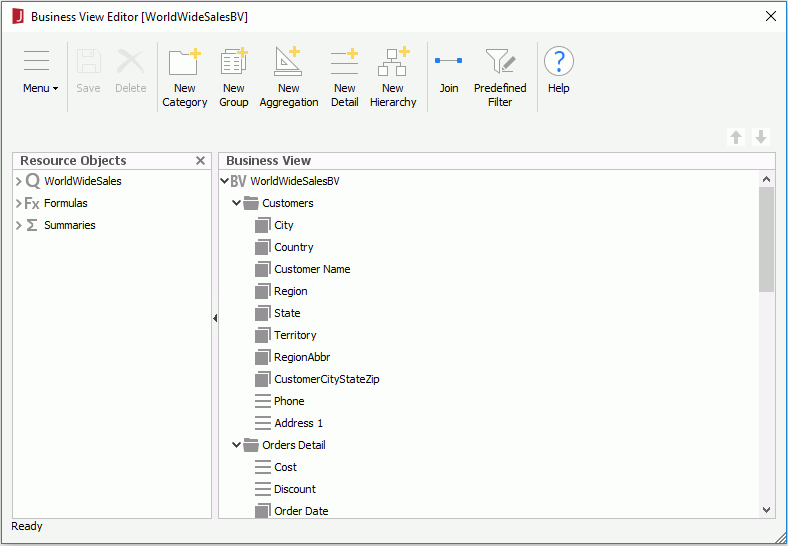
  5. The Business View Editor appears. All the resources you have selected for the business view, and the formulas and summaries in the current catalog data source that are valid for the selected resources are listed in the Resource Objects panel on the left of the editor.

    Business View Editor

  6. Add elements to the business view based on the available resources.
  7. Define hierarchies on the business view to allow end users to drill report data to particular groups.
  8. Create predefined filters on the business view for users to choose when using the business view to create reports.
  9. Modify the joins between the resources the business view uses.
  10. Configure security for the business view if necessary.
  11. Click Save on the toolbar to save the business view.
  12. Click Menu > File > Close to close the window. The business view will now have been added to the catalog.

BackPrevious Page Next PageNext