 Previous Page Next Page
Library components visible in the page panel can be printed, for example, library components that were created using JReport Designer and inserted into dashboards via the Resources panel.
To print the library components in a dashboard, click the Print button  on the toolbar, or click the Options button
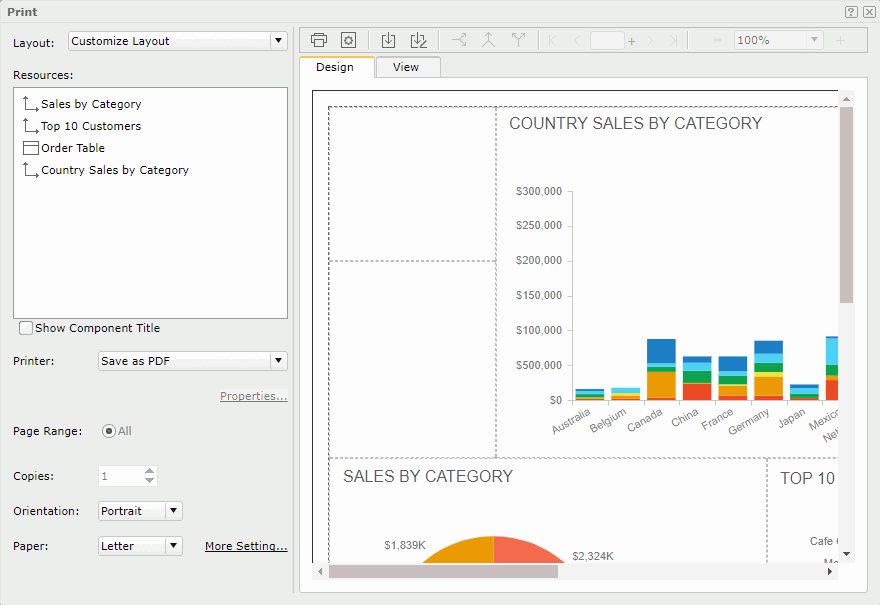
  on the toolbar and select Print from the option list. Then in the Print dialog, choose whether to use system layout or customize the layout. In the system layout, JReport will calculate the positions of the library components in the dashboard following defined rules. If you are not satisfied with the system layout, you can customize the layout by yourself to determine the position of each library component and specify whether to print all the data of a table/crosstab or just the current page of the table/crosstab displayed in the dashboard. The customized layout can be saved for all users who can access the dashboard.
To print using system layout:
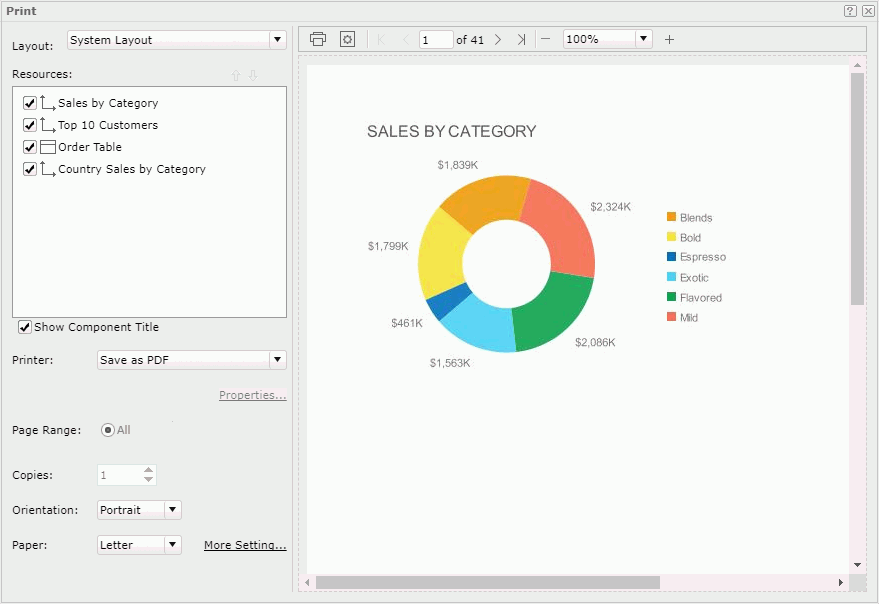
The preview of the layout appears in the preview panel on the right. Sometimes you may find that the layout is a little different from what you see in the dashboard.
 and
and  to adjust the printing order if necessary. on the toolbar to start printing. If Save as PDF or Save as HTML is selected in the Printer drop-down list, the result file of the library components is then opened in an associated program with which you can print the result to a printer.
To customize the layout:
on the toolbar to start printing. If Save as PDF or Save as HTML is selected in the Printer drop-down list, the result file of the library components is then opened in an associated program with which you can print the result to a printer.