 Previous Page Next Page
This wizard guides you through the process of creating a banded object. It contains the following screens:
Back
Returns to the previous screen.
Next
Goes to the next screen.
Finish
Creates the banded object and closes the wizard.
Cancel
Closes the wizard without creating a banded object.
Help
Displays the help document about this feature.
Specifies the business view to use to create the banded object. This screen is hidden when there is only one business view in the current catalog.
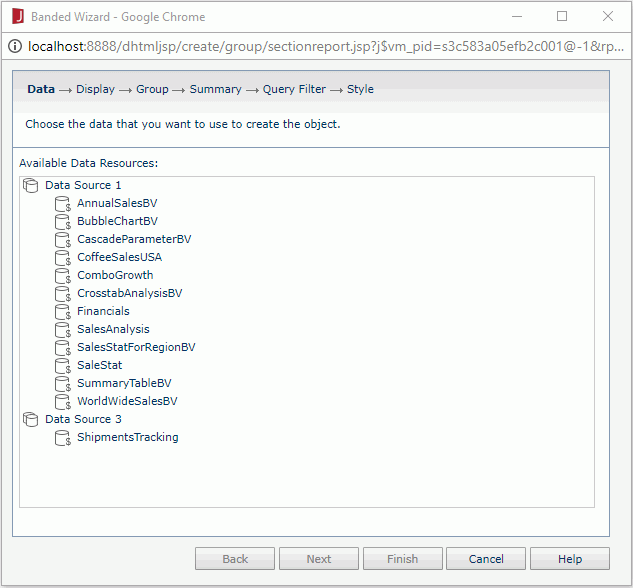
Available Data Resources
Lists all the available business views in the current catalog, with which you can create the banded object.
Specifies the fields to be displayed in the banded object.
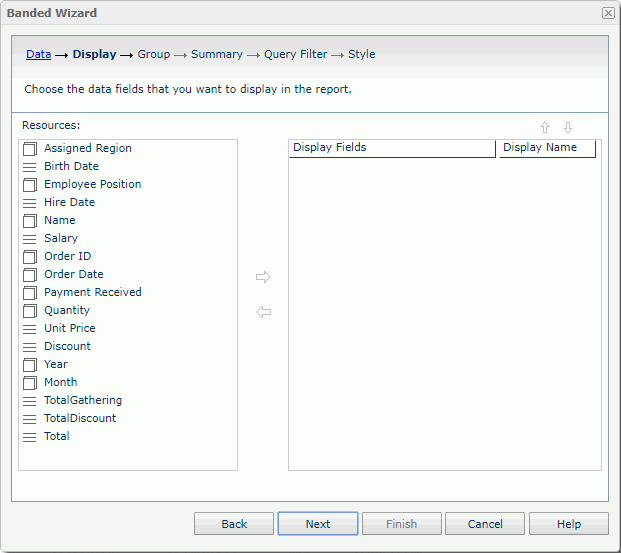
Resources
Displays all the view elements in the selected business view. To add a view element to display in the banded object, select it and then click  .
.
Display Fields
Lists the view elements you have selected to display in the banded object. For an added view element which you do not want, select it and then click  .
.
Display Name
Specifies the display names of the added view elements.
The downward order of the added elements determines the order of them displayed in the banded object from left to right. You can use the following two arrows to adjust the order.

Moves the selected view element one step up.

Moves the selected view element one step down.
Specifies the fields to group the data in the banded object.
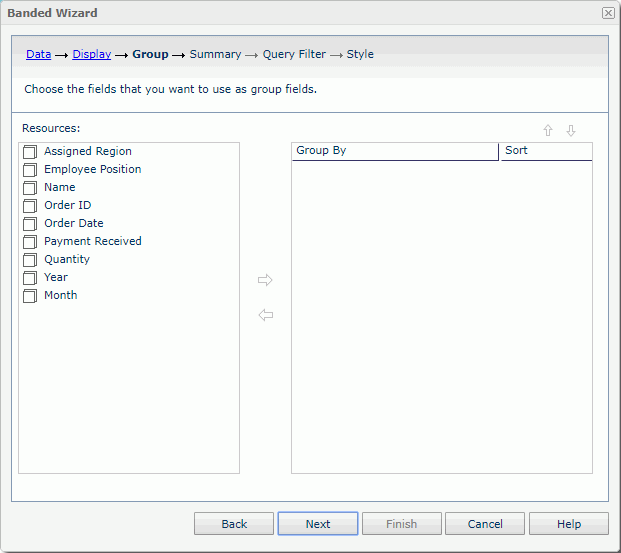
Resources
Displays all the available group objects  you can use to group the data in the banded object. To add a group object as a group field, select it and then click .
Group By
Lists all the group objects that have been added as the group fields. To cancel a group from being a group field, select it and then click .
Sort
Specifies the sort order for each group: Ascend, Descend, or No Sort.
The downward order of the added group fields determines the order of the groups in the banded object from first to last. You can use the following two arrows to adjust the order.
Moves the selected group one step up.
Moves the selected group one step down.
Specifies summary fields that calculate data based on a group or on the whole banded object.
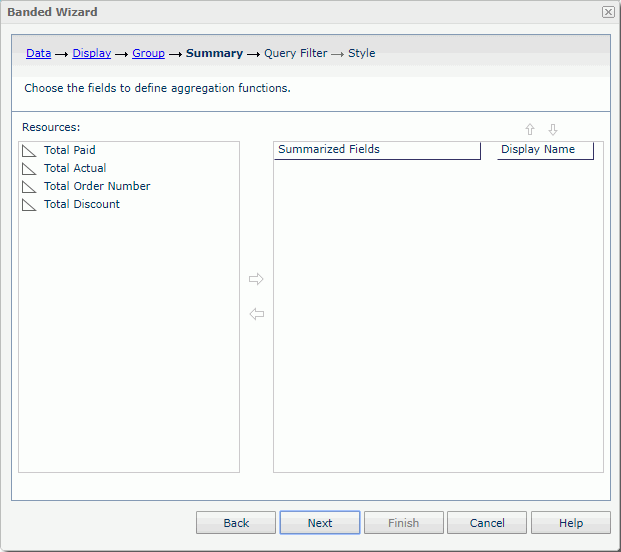
Resources
Displays all the available aggregation objects  that can be used as summary fields. Summary fields can be added into a group or for the whole banded object. To add into a group, first select the group field in the right panel, then select the desired aggregation object in the left panel and click . To add for the whole banded object, first make sure no group field is selected, then select the desired aggregation and click .
Summarized Fields
Lists the groups that have been created in the banded object and the aggregation objects you have added to summarize data in the groups and for the whole banded object.
To cancel an aggregation object from being added as a summary field, select it in the right panel and click .
Display Name
Specifies the display names of the aggregation objects.
Moves the selected aggregation object one step up.
Moves the selected aggregation object one step down.
Specifies the filter which you want to apply to the selected business view.
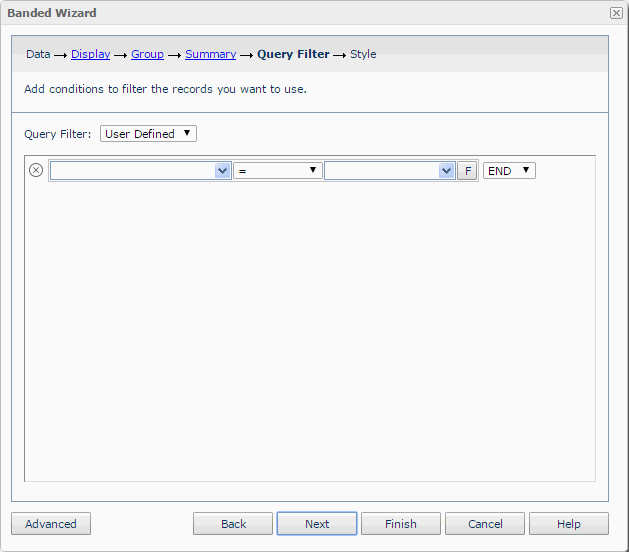
In this screen, all the predefined filters of the business view are listed in the Query Filter drop-down list. You can choose one of them to apply. If you prefer to define a filter on your own, select User Defined from the drop-down list, and then define it according to your requirements.
If the selected business view contains parameters, you would be prompted with the Enter Parameter Values dialog to specify values to the parameters before the Query Filter screen is displayed.
For details about options in the screen, refer to Query Filter dialog.
Specifies the style of the banded object. This screen is hidden when there is only one style available to be applied to the banded object.
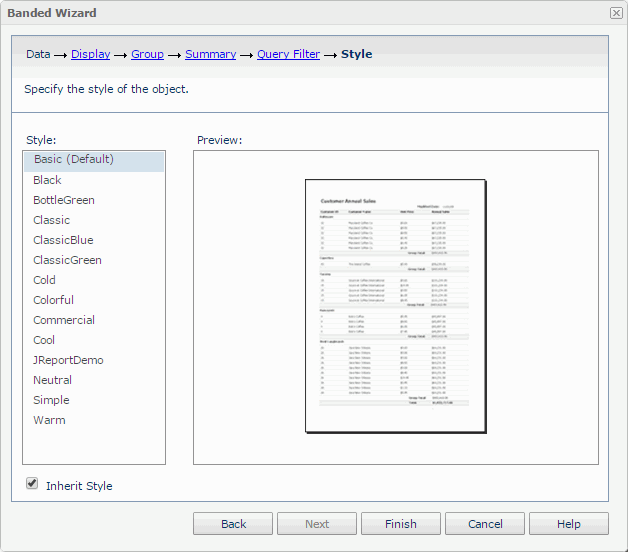
Style
Lists all the available styles for you to select from.
Inherit Style
Specifies to take the style of the parent component. The option is available only when you specify to insert the banded object into another banded object.
Preview
Shows a preview of the banded object in the selected style.