 Previous Page Next Page
In this lesson, you will learn how to start JReport Server, open the JReport Server user console, and learn the other resource control commands available on the user console.
The JReport Server user console has an easy-to-use web-based interface for selecting, viewing and editing resources. Internet Explorer, Firefox, Google Chrome, Edge, and Safari are browsers that have been certified to work with JReport products. However other browsers should also work fine.
The lesson assumes that you have installed JReport Server with its default configuration. If you changed the default locations or port numbers using Custom Installation, then you will need to adjust the instructions in this lesson accordingly.
To start JReport Server and access the user console locally, follow these steps:
These are the initial user credentials built-in to JReport Server. One of the first things an administrator should do is to set up the correct user credentials so that appropriate reports can be accessed by each user.
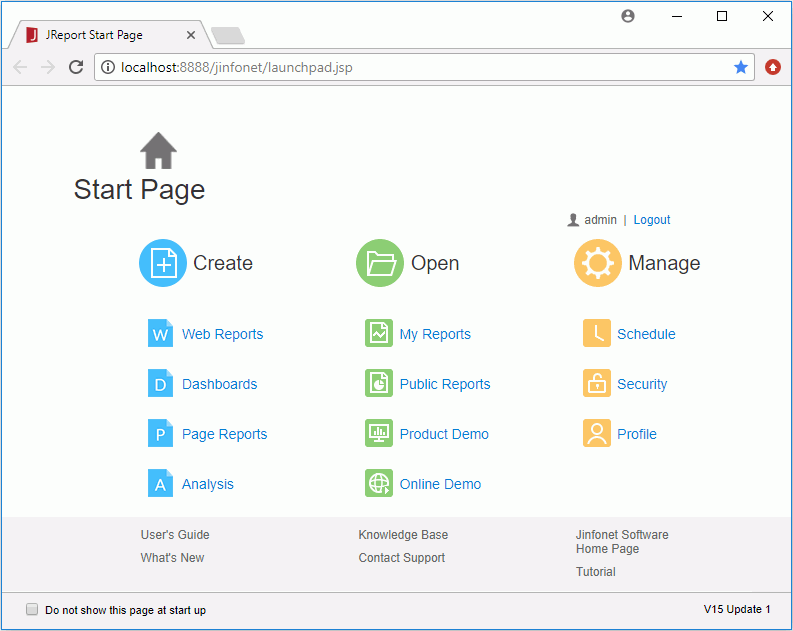
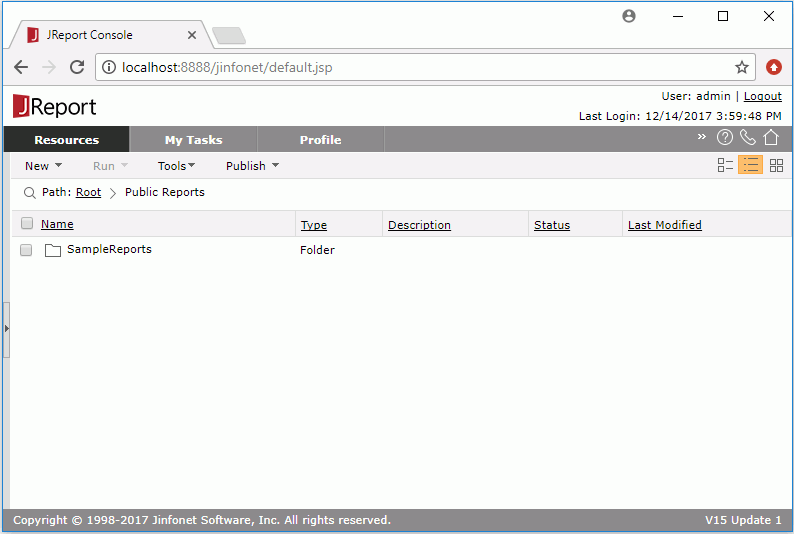
By default, the User Directory panel is hidden on the left showing the folders of published resources that are available to the current login user.
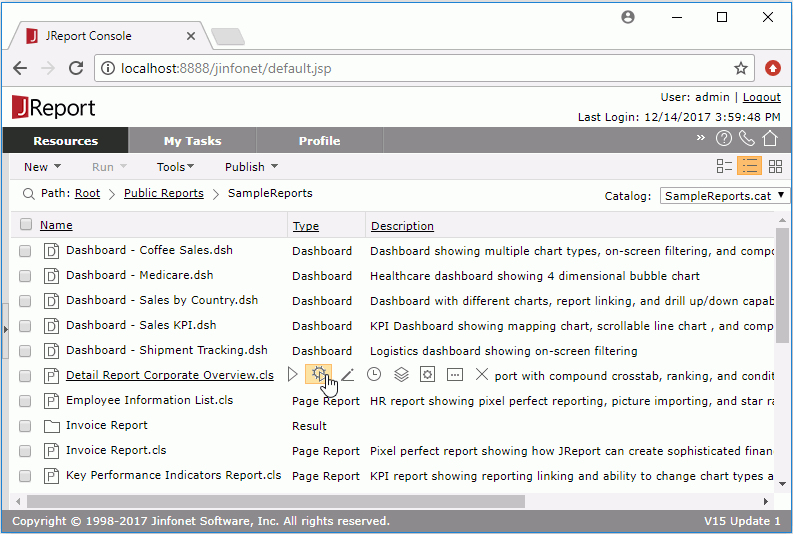
Advanced Run 
Runs the report immediately after collecting additional specifications from you, including which report tab to run for a page report, what output format to use, which style group to apply, and any encoding options.
Edit 
Schedule 
Runs the report based on a schedule. When you use Schedule to run a report, the request is placed into a queue and processed in the order submitted. The size of the queue and priority of the queue can be configured to make the most efficient use of resources. Lesson 4 describes scheduled reports.
Version 
Views the resource version and scheduled/advanced run result version information.
Properties 
Allows you to define the archive policy, security, and a description associated with the resource. Lesson 6 describes security.
Parameter Settings 
Customizes the default parameter values for the report.
Delete 
Deletes the resource.
