 Previous Page Next Page
A table contains fields mapped to attributes, simple elements, contents of complex elements, and other nodes in XML files. Queries and business views can be built on these tables and a report is developed from a query (or something else which is functionally similar) or from a business view.
This document shows how to add more tables transformed from the XML data source into the JReport catalog via the XML connection, organize the tables, and so on.
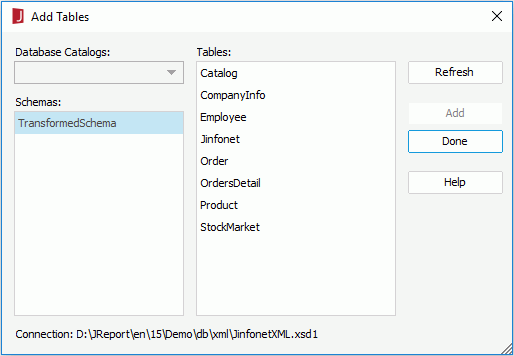
The Add Tables dialog appears.

To choose consecutive tables, click the first table, press and hold down the SHIFT key, and then click the last table. To choose tables that are not consecutive, press and hold down CTRL, and then click each table.
The tables in your catalog are a temporary deposit to improve the performance when you design and test your report. Your data source keeps changing over the time; however, these will not be reflected automatically in your catalog. To synchronize your tables in the connection and data source, you can choose to refresh the table information using the Refresh command on the shortcut menu of the tables. When the refreshing job is done, a reporting dialog will be shown, summarizing the changes and operations that have been taken.
You can organize the tables in an XML connection by arranging them in different folders in the Catalog Manager.
To add a folder:
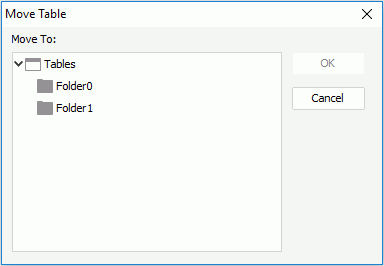
To move tables to a folder:

By default, when you add a table, you add all the columns that reside in the table; however, JReport gives you the flexibility to remove columns in a table, leaving only the columns useful to your reports. To remove a column from a table, right-click the column and select Delete from the shortcut menu.
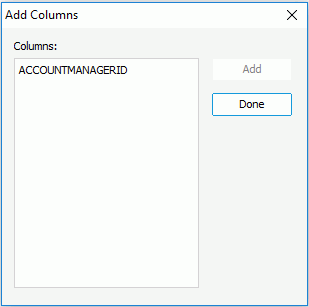
Also, you can add the columns back into a table after you have removed them. To do this:

There will be no available columns in the Columns box if you did not delete any in the table.
Tip: If you want to add all the columns in a table at one time, you can also choose to refresh the table, which synchronizes the table in the catalog with the one in your XSD.